Button
Apple Developer Documentation
developer.apple.com
일반적으로 사용하는 파라미터는 아래와 같다
- action
Button의 동작 - label
Button의 UI - title
Button의 이름 - role
Alert, Context에 Button을 사용하는 경우 특정 역할을 부여
struct ControlsView: View {
    @State private var text = ""
    var body: some View {
        Text(text)
        Button("test", role: .destructive) {
            text = "Hello"
        }
    }
}
Link
Apple Developer Documentation
developer.apple.com
struct ControlsView: View {
    @State private var text = ""
    let url = URL(string: "https://chillog.page")
    var body: some View {
        Text(text)
        Link(destination: url!) {
            Text("Go Blog")
        }
    }
}
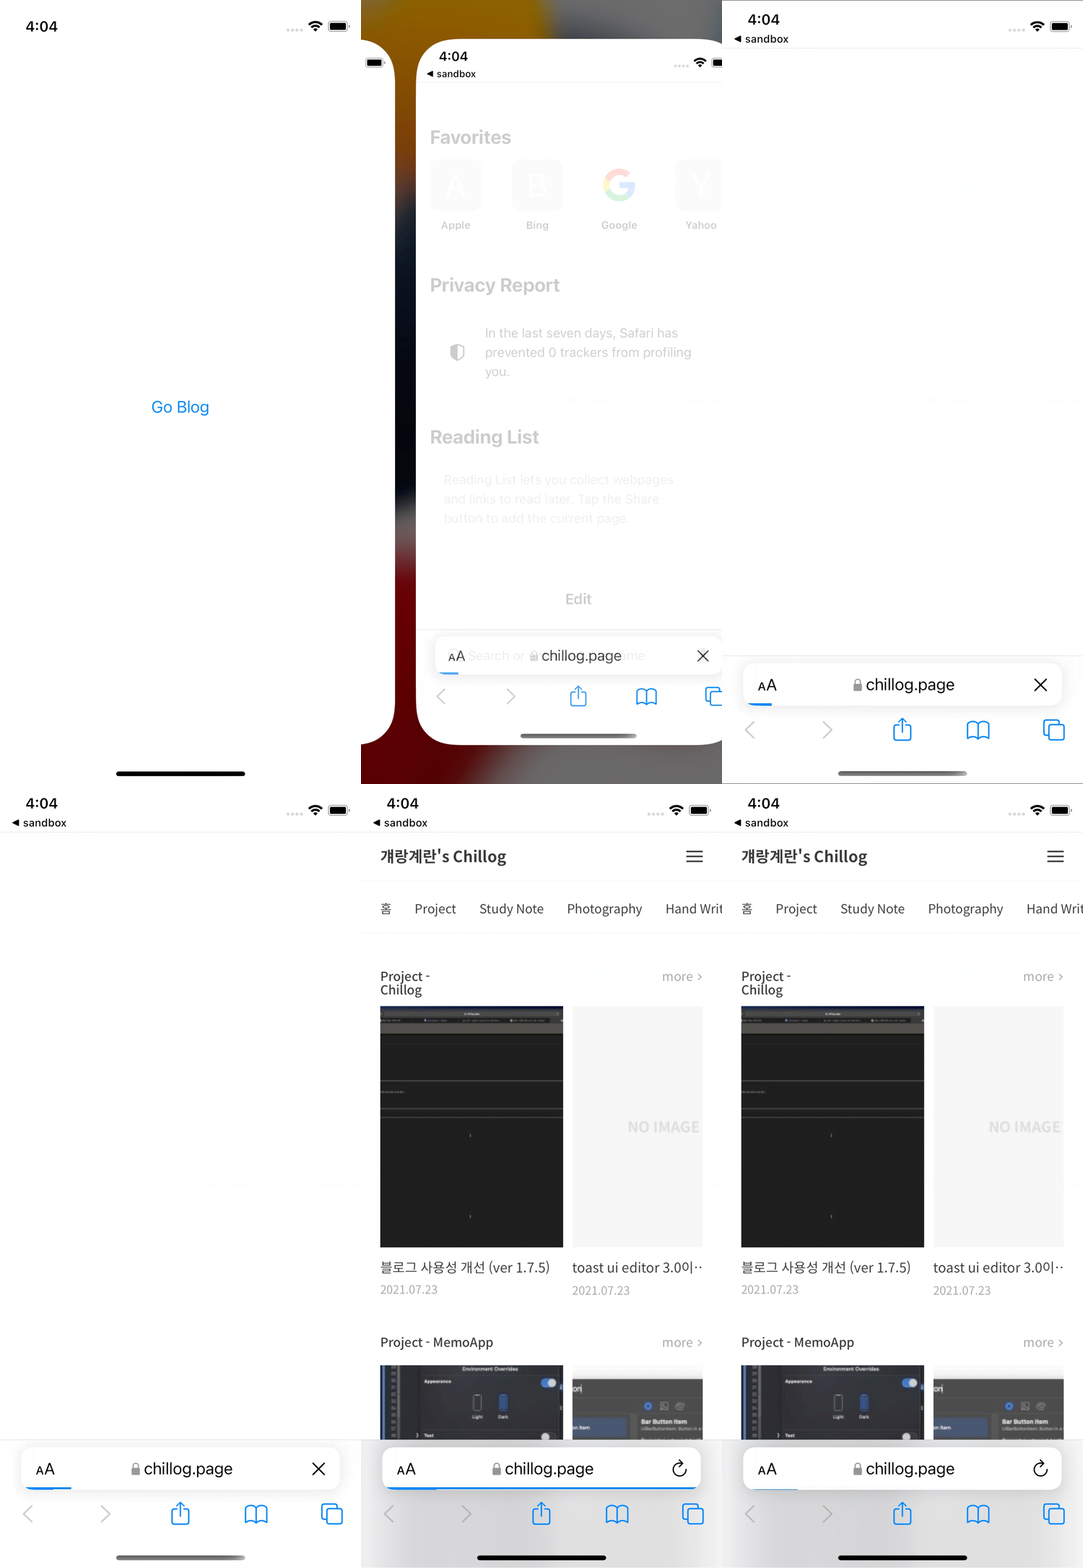
Link는 URL에 반응하는 특별한 Button이다.
iOS가 제공하는 모든 형식의 URL Scheme과 Universal Link를 지원한다.
struct ControlsView: View {
    @Environment(\.openURL) private var openURL

    @State private var text = ""
    let url = URL(string: "https://chillog.page")
    var body: some View {
        Text(text)

        Link(destination: url!) {
            Text("Go Blog")
        }

        Button {
            if let url = url {
                openURL(url)
            }
        } label: {
            Text("Go Blog")
                .foregroundColor(.red)
        }

    }
}
Link는 openURL 메서드와 Button으로도 동일하게 구현할 수 있지만
Environment 변수를 추가하지 않아도 된다는 부분에서 구현이 조금 더 간단해진다는 장점이 있다.
Menu
Apple Developer Documentation
developer.apple.com
struct ControlsView: View {
    @State private var text = ""

    var body: some View {
        Text(text)
        Menu("This is menu") {
            Menu("Fruits") {
                Button {
                    text = "apple"
                } label: {
                    Label("apple", systemImage: "applelogo")
                }

                Button("banana") {
                    text = "banana"
                }
            }

            Menu("Bread") {
                Button("Dounut") {
                    text = "donut"
                }

                Button("eggSandwitch") {
                    text = "eggsanwitch"
                }
            }
        }
    }
}
계층 구조를 표현할 수 있는 View다.
보통은 Button으로 구성하며 UI 구현 시 Label의 이미지가 왼쪽이 아닌 오른쪽에 표시된다는 점이 특징이다.
Menu에 Menu를 Embed해 계층의 단계를 늘리는 것도 가능하며,
struct ControlsView: View {
    @State private var text = ""

    var body: some View {
        Text(text)
        Menu("This is menu") {
            Menu("Fruits") {
                Button {
                    text = "apple"
                } label: {
                    Label("apple", systemImage: "applelogo")
                }

                Button("banana") {
                    text = "banana"
                }
            }

            Menu("Bread") {
                Button("Dounut") {
                    text = "donut"
                }

                Button("eggSandwitch") {
                    text = "eggsanwitch"
                }
            }
        } primaryAction: {
            text = "What do you want?"
        }
    }
}
최상위 메뉴에는 primaryAction을 지정해,
하나의 View로 동작과 Menu의 기능을 동시에 하도록 사용 가능하다.
'학습 노트 > Swift UI (2022)' 카테고리의 다른 글
| 18. Stepper & Picker & Date Picker & Color Picker (0) | 2022.10.06 |
|---|---|
| 17. Toggle & Slider & ProgressView (0) | 2022.10.05 |
| 14 ~ 15. TextField & TextField Style & TextEditor (0) | 2022.09.28 |
| 13. Label & Font (0) | 2022.09.28 |
| 12. Text (0) | 2022.09.28 |


