Text
문자열을 표시하는 가장 기초적인 View이지만 기능이 꽤나 많은 편에 속한다.
Locailzed String
Localizable 파일 생성하기
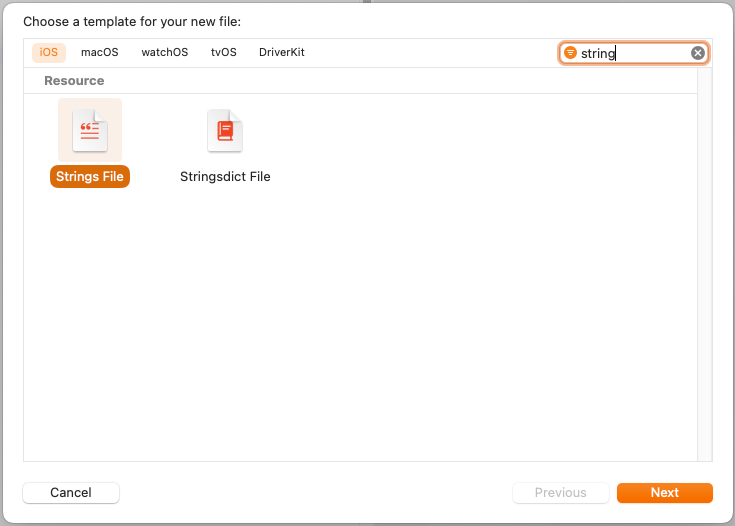
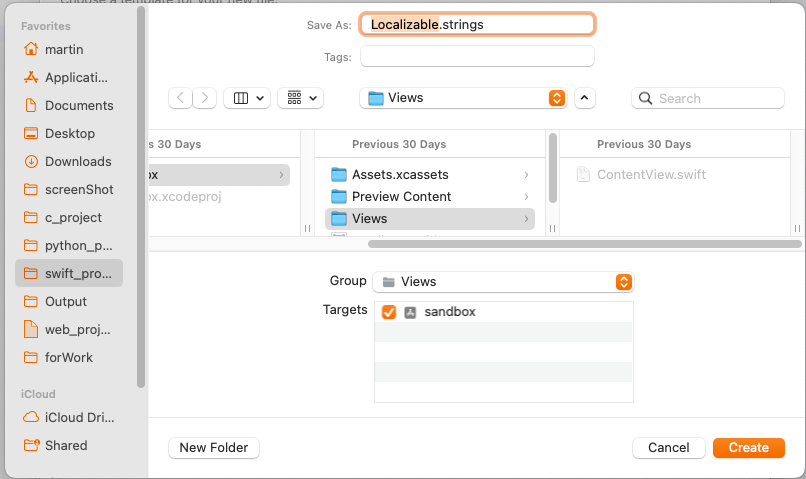
프로젝트 내에 'Strings File'을 생성하고, 이름을 Localizable로 변경한다.
다른 이름을 사용하지 않는 것이 좋다.
Localizable 파일 적용하기

프로젝트의 설정에서 Localizations를 찾아 원하는 언어를 추가한다.
이때 우측 상단의 검색을 이용하면 편리하다.
Base와 English가 기본으로 적용돼 있다.

앞서 생성한 Localizable.strings 파일을 선택한 뒤 File Inspector에서 'Localize...' 버튼을 누른다.
아무 언어나 선택해 Localize를 누르면 이전에 눌었던 Localize... 버튼 대신 목록이 표시된다.
원하는 언어를 체크하면 마지막 사진과 같이 각각의 언어에 대한 Localizable.strings 파일이 만들어진다.
Localizable String 사용하기.
Localizable.strings 파일은 다음과 같이 정의한다.
/*
  Localizable.strings
  sandbox

  Created by Martin.Q on 2022/09/27.

*/
"안녕?" = "안녕?";
/*
Localizable.strings
sandbox
Created by Martin.Q on 2022/09/27.
*/
"안녕?" = "Hello?";좌변의 값이 'Key'이고 우변의 값이 'Value'에 해당한다.
각각의 데이터는 항상 ';(Semicolon)'으로 구분하므로, 빠뜨리지 않도록 주의하자.
이렇게 만들어진 Localizable String의 Key를 Text에 전달하기만 하면 된다.
struct ContentView: View {
   @State private var statusMessage = "안녕?"
   @State private var sheetState = false

   var body: some View {
      VStack {
         Text(statusMessage)
            .font(.largeTitle)

          Text(LocalizedStringKey("안녕?"))
             .font(.largeTitle)
             .foregroundColor(.cyan)

         Button(action: {
             sheetState.toggle()
         }, label: {
            Text("Show Sheet")
         })
         .padding()
         .sheet(isPresented: $sheetState) {
             SheetView(statusMessage: $statusMessage)
         }
      }
      .navigationBarTitle("Sheet")
   }
}
이전에 사용했던 화면에 Text View를 하나 추가했다.
해당 Text는 Localizable String을 사용하며, 이에 따라 일반 String이 아닌 LocalizedStringKey를 전달해야 한다.
위의 코드와 같이 하면 된다.
Preview에 표시하기
struct ContentView_Previews: PreviewProvider {
    static var previews: some View {
        ContentView()
            .environment(\.locale, .init(identifier: "en"))
            .environment(\.locale, .init(identifier: "ko"))
    }
}
Preview 코드에 환경 설정을 추가해 준다.
위와 같이 해당하는 언어의 locale identifier를 추가하면 preview나 xcode의 설정에 맞게 적용돼 출력된다.
locale identifier의 목록은 아래와 같다.


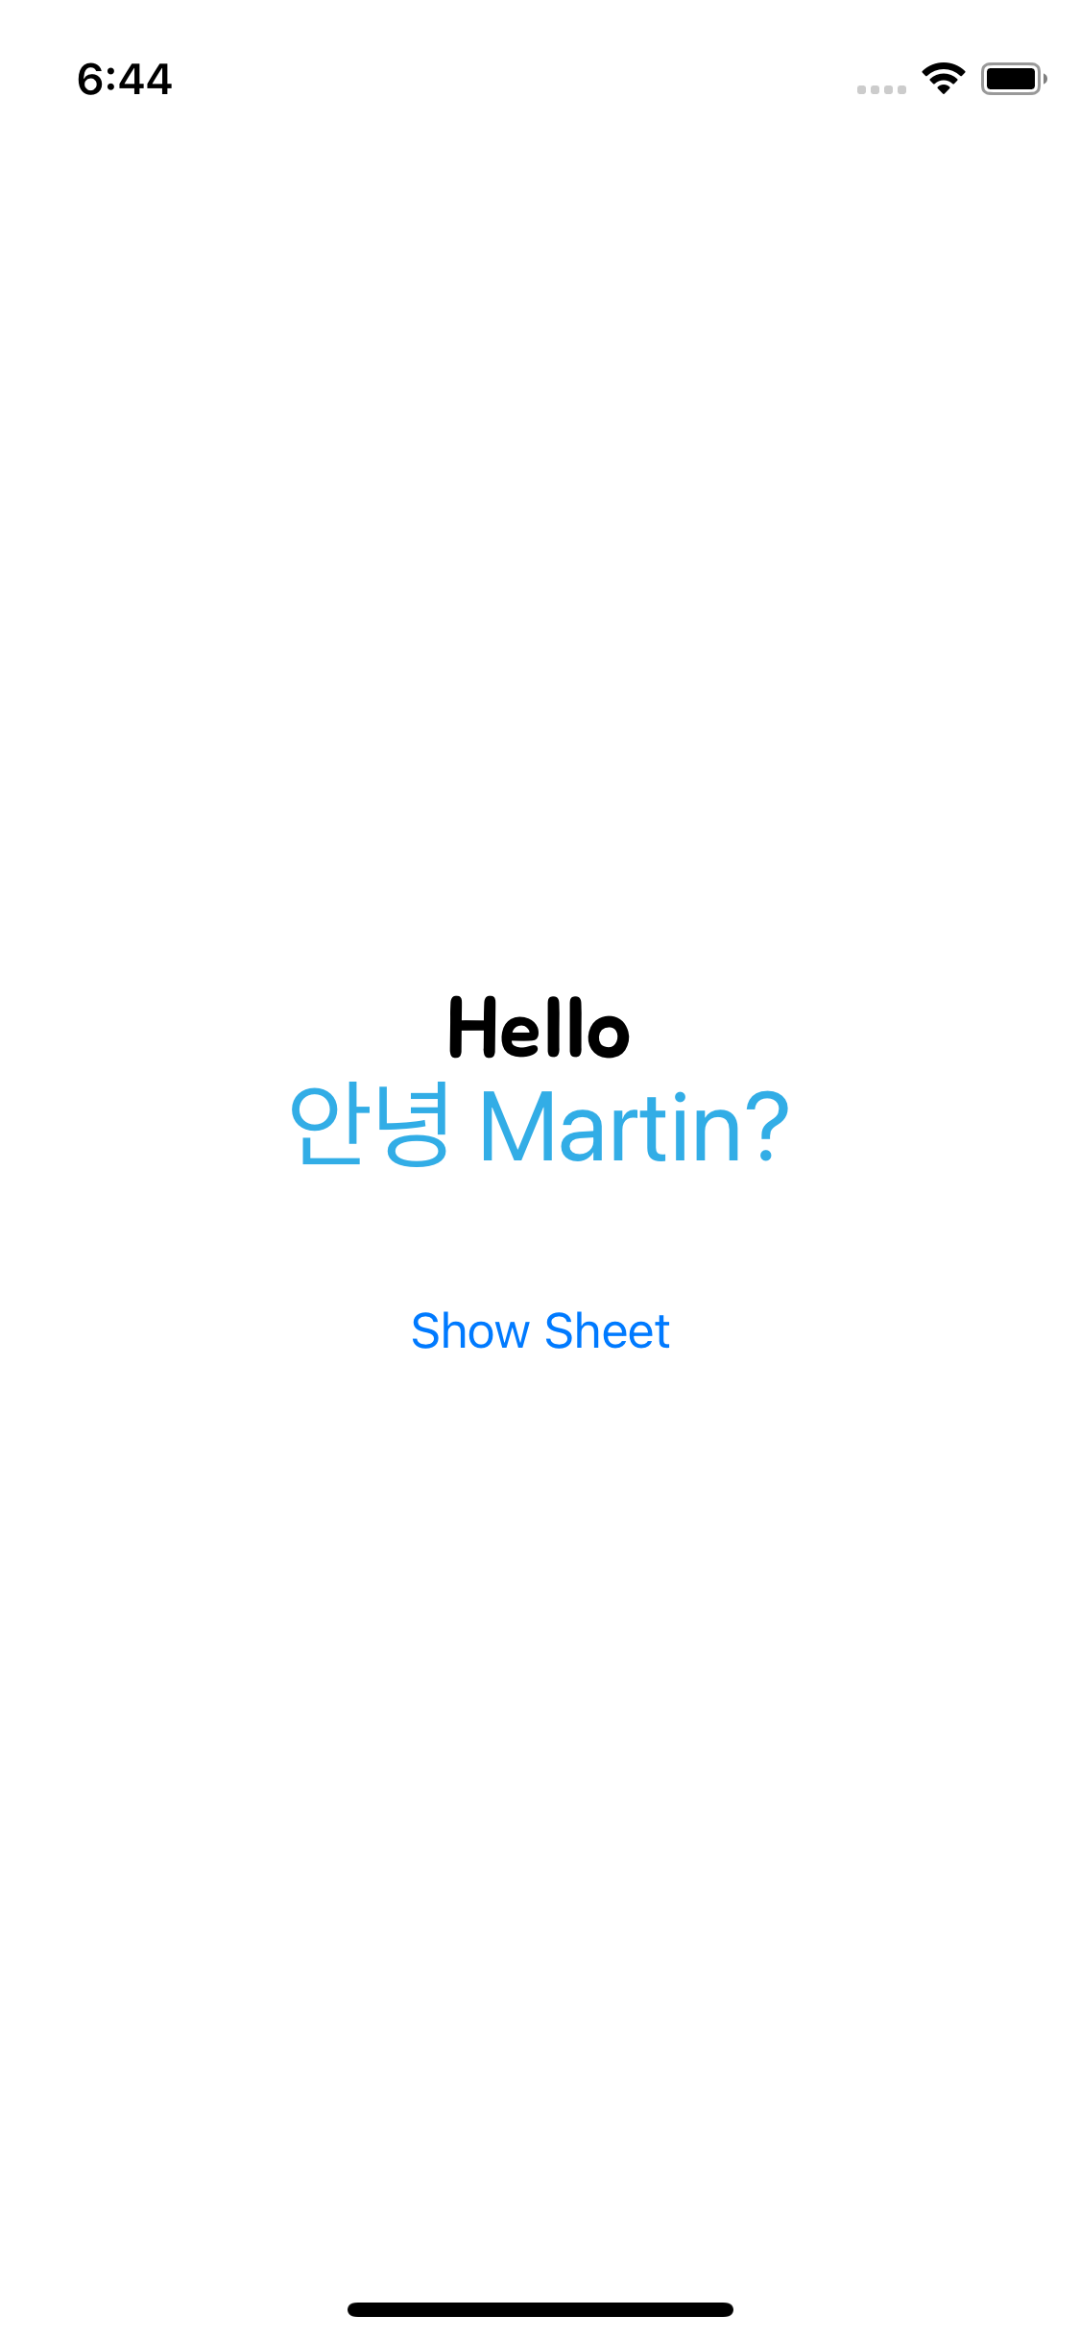
같은 '안녕?'을 전달했음에도 기기의 언어 설정에 따라 다르게 표시되는 걸 확인할 수 있다.
또한 일반 문자열을 전달한 Text와도 출력이 달라지는 걸 알 수 있다.
Localizable String의 Argument 전달
문자열을 다루다 보면 심심치 않게 String Interpolation을 사용하는 경우가 있다.
이러한 경우에는 Localizable String을 약간 다르게 구성해야 한다.
/*
  Localizable.strings
  sandbox

  Created by Martin.Q on 2022/09/27.

*/
"안녕 %@?" = "안녕 %@?";
/*
Localizable.strings
sandbox
Created by Martin.Q on 2022/09/27.
*/
"안녕 %@?" = "Hello %@?";데이터가 전달 될 부분에 미리 처리를 해 주면 된다.
데이터마다의 형식은 아래와 같다.
| String | %@ |
| Int | %d |
| Double | %f |
struct ContentView: View {
   @State private var statusMessage = "안녕?"
   @State private var sheetState = false
   private var name = "Martin"

   var body: some View {
      VStack {
         Text(statusMessage)
            .font(.largeTitle)

          Text(LocalizedStringKey("안녕 \(name)?"))
             .font(.largeTitle)
             .foregroundColor(.cyan)

         Button(action: {
             sheetState.toggle()
         }, label: {
            Text("Show Sheet")
         })
         .padding()
         .sheet(isPresented: $sheetState) {
             SheetView(statusMessage: $statusMessage)
         }
      }
      .navigationBarTitle("Sheet")
   }
}

이제는 LocalizedStringKey가 String Interpolation에 대응한다.
Font
Text(statusMessage)
.font(.largeTitle)Text View에 표시되는 문자열의 폰트를 변경할 수 있다.
애플에서 제공하는 기본 폰트를 사용할 수도 있고
Font
Apple Developer Documentation
developer.apple.com
size, wight, design을 폰트 생성자에 전달해 Custom도 가능하다.
Custom 폰트 사용하기

사용할 폰트를 프로젝트에 추가하고
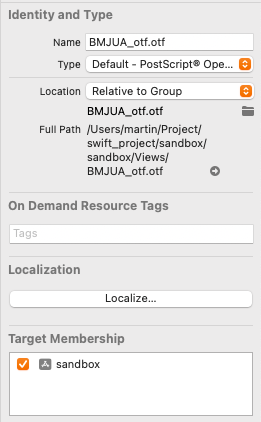
폰트 파일의 File Inspector에서 Target Membership이 앱으로 잘 지정돼 있는지 확인한다.

info.plist로 이동해
Information Property List > Fonts provided by application
을 추가하고 사용할 폰트 만큼 item을 추가한다.
이름은 추가한 폰트 파일의 이름을 확장자까지 전달하면 된다.
init(){
    for family in UIFont.familyNames {
         print(family)

         for names in UIFont.fontNames(forFamilyName: family){
         print("== \(names)")
         }
    }
}
이후 추가된 폰트의 정학한 호출명을 알기 위해 생성자에서 불러오는 폰트들을 확인해 본다.
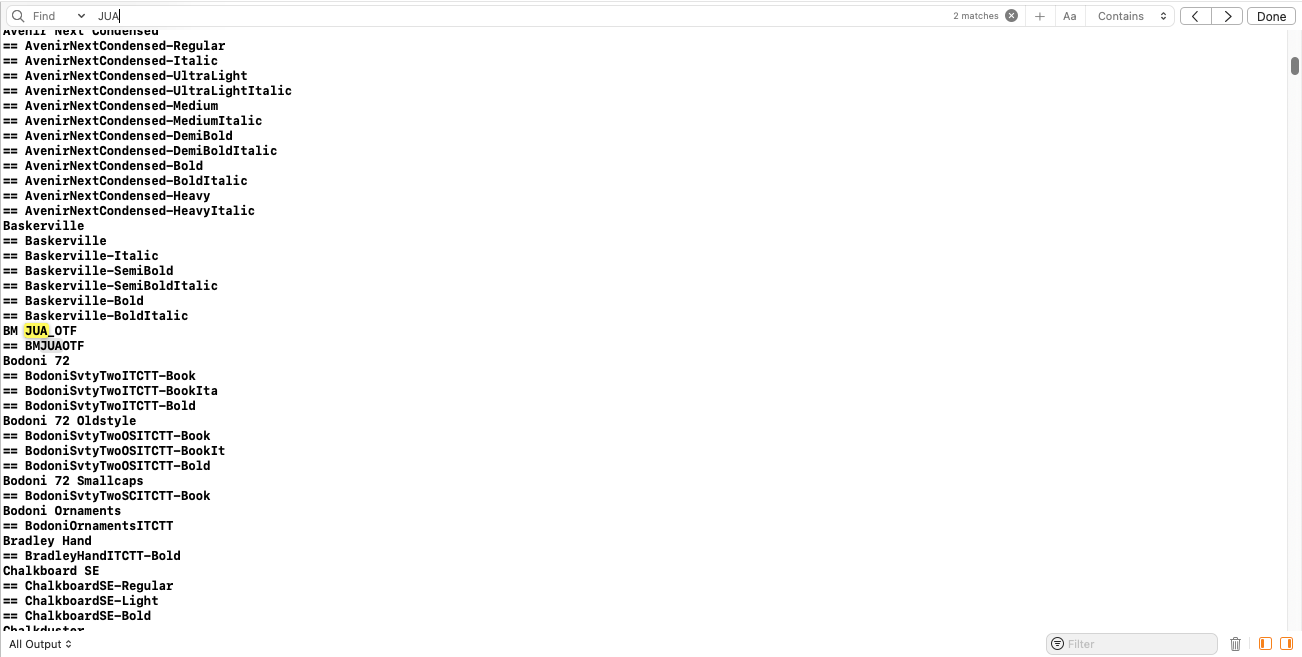
콘솔을 확인해 보면 추가한 폰트는 'BM HUA_OTF' 혹은 'BMJUAOTF'로 사용할 수 있는 모양이다.
 Text(statusMessage)
      .font(.custom("BMJUAOTF", size: 30))
font modifier에서 '.cutom'을 호출하고, 해당 이름을 전달한다.
이렇게 'Hello'가 새로운 폰트로 잘 출력 되는 걸 볼 수 있다.
만약 info.plist를 찾을 수 없다면 아래 글을 참고하면 된다.
사라진 'Info.plist' 파일 다시 만들기
프로젝트를 생성하거나 기존에 생성된 프로젝트를 사용하려는 경우 필요한 'Info.plist' 파일이 보이지 않는 경우가 있다. 문제를 해결해 보자 해결법은 간단하다. Project > Targets > Info 로 접근한 뒤
chillog.page
.coregroundColor
폰트의 색을 변경한다.
 Text(statusMessage)
      .font(.custom("BMJUAOTF", size: 30))
.foregroundColor(.red)foregroundColor(_:)
Apple Developer Documentation
developer.apple.com

시스템에서 제공하는 색뿐만이 아닌 Asset에서 만든 별도의 색이나 코드를 사용한 변경도 가능하다.
.background
Text View의 배경색을 변경한다.
Text(statusMessage)
    .font(.custom("BMJUAOTF", size: 30))
    .foregroundColor(.red)
.background(.yellow)background(_:ignoresSafeAreaEdges:
Apple Developer Documentation
developer.apple.com
해당 modifier는 구현 구조상 Text의 Style에는 포함되지 않는다.
실제 구현은 Text View 뒤에 지정한 색의 View를 추가하는 것으로, 엄밀히 말하면 Font의 배경색은 아닌 게 된다.
.frame
struct ContentView: View {
   @State private var statusMessage = "A-B-C-D-E, F-U And your mom and your sister and your job And your broke-ass car and that shit you call art Fuck you and your friends that I'll never see again Everybody but your dog, you can all fuck off"
   @State private var sheetState = false
   private var name = "Martin"

   var body: some View {
      VStack {
         Text(statusMessage)
              .font(.custom("BMJUAOTF", size: 30))
              .foregroundColor(.red)
              .background(.yellow)

          Text(LocalizedStringKey("안녕 \(name)?"))
             .font(.largeTitle)
             .foregroundColor(.cyan)

         Button(action: {
             sheetState.toggle()
         }, label: {
            Text("Show Sheet")
         })
         .padding()
         .sheet(isPresented: $sheetState) {
             SheetView(statusMessage: $statusMessage)
         }
      }
      .navigationBarTitle("Sheet")
   }
}
Text View의 frame은 문자열을 표시하기 위한 최소 크기가 기본값이 된다.
만약 길다면 줄 바꿈을 자연스럽게 사용한다.
이 frame을 변경하는 것도 가능하다.
.lineLimit
Text(statusMessage)
    .font(.custom("BMJUAOTF", size: 30))
    .foregroundColor(.red)
    .background(.yellow)
    .lineLimit(2)
최대로 표시할 줄 수를 제한한다.
.truncationMode
Text(statusMessage)
    .font(.custom("BMJUAOTF", size: 30))
    .foregroundColor(.red)
    .background(.yellow)
    .lineLimit(2)
    .truncationMode(.middle)
문자열이 긴 경우 사용할 생략 방법을 결정한다.
파라미터는 다음과 같다.
- head
- middle
- tail
각각 문자열의 처음, 중간, 끝을 생략한다.
.multilineTextAlignment
 Text(statusMessage)
      .font(.custom("BMJUAOTF", size: 15))
      .foregroundColor(.red)
      .background(.yellow)
      .lineLimit(10)
      .truncationMode(.tail)
      .multilineTextAlignment(.center)
여러 줄을 표시할 때 정렬 방식을 설정한다.
파라미터는 아래와 같다.
- center
- leading
- trailing
.lineSpacing
 Text(statusMessage)
      .font(.custom("BMJUAOTF", size: 15))
      .foregroundColor(.red)
      .background(.yellow)
      .lineLimit(10)
      .truncationMode(.tail)
      .multilineTextAlignment(.center)
      .lineSpacing(10)
여러 줄을 표시할 때 줄 간격을 설정한다.
전달하는 값은 CGFloat이다.
'학습 노트 > Swift UI (2022)' 카테고리의 다른 글
| 14 ~ 15. TextField & TextField Style & TextEditor (0) | 2022.09.28 |
|---|---|
| 13. Label & Font (0) | 2022.09.28 |
| 10 ~ 11. Sheet / FullScreenCover & Popover (0) | 2022.09.26 |
| 08 ~09. Alert & Confirmation Dialog (0) | 2022.09.23 |
| 07. Overlay (0) | 2022.09.22 |


