애플의 앱들을 보면 한 가지 View가 아니라 여러 View를 조화롭게 사용하는 것을 확인할 수 있다.


대표적인 예로 '미리알림'앱이 그러한데 쪼개서 보면 오른쪽과 같이 LazyVGrid와 List를 함께 쓴 것을 볼 수 있다.
참 간단하고 예쁜데 구성하려면 생각만큼 만만치는 않다는 것이 문제다.
이런 비슷한 구조의 인터페이스를 JusTheme에서 사용한 적이 있는데, 이때 사용한 '억지' 방법과
최근 알게 된 조금 더 정석에 가까운 방법을 소개해 보고자 한다.
0. 모든 문제의 시작
이게 어려운 이유는 ScrollView와 LazyVGrid, ListView의 특성 때문이다.
ScrollView는 자신에게 포함 된 Child들을 통해 크기를 조절하는데, LazyVGrid와 ListView는 화면 밖에 있으면 표시할 컨텐츠를 능동적으로 조절하기 때문에 이 계산이 불가능해진다.
따라서 이것을 가능하게 하기 위해서는 이들의 크기를 '미리 계산'하거나 '고정'해 주는 방법이 있는데 전자는 너무 무식하고, 후자의 방법이 조금 편하다고 생각한다.
1. 어거지로 ListView를 쑤셔 넣기.
억지로 ListView를 쑤셔 넣는 것이 이 크기를 '고정'한다는 선택지인데 딱 한 줄로 가능하기에
다음에 소개할 정석적인 방법을 사용하기 전 내가 사용했던 방법이다.
ScrollView(.vertical) {
    LazyVGrid(columns: gridItems) {
        Section {

        } header: {

        }
    }

    List {
        ForEach(photoData.locations, id: \.0) { loca, image in
            // TODO: it change unexpectedly
            NavigationLink {
                LocationView(loca, locaMatching(locationData.locations, loca), image)
            } label: {
                Text(LocalizedStringKey(loca))
            }
        }
    }
    .scaledToFill()
}
바로 scaledToFill() 이다.
ImageView를 쓸 때나 쓰던 modifier가 여기선 List를 표시 가능한 영역에 가득 채우도록 강제하기 때문에 에러도, 시각적으로도 어느 정도는 문제가 없다.

'어느 정도' 문제가 없는 이유는 이것에 대한 부작용으로 리스트의 하단에 큰 여백이 생기고, 전체적인 스크롤의 길이를 늘여 버린다는 부분이다.
이걸 그냥 감내하고 사용해도 괜찮지만, 상당히 거슬려서 해당 섹션을 숨긴 상태로 화면을 표시하도록 구현했었다.
덕분에 State 변수도 늘어나고 이것저것 붙어서 상당히 마음에 안 들던 차였다.
2. 그나마 정석적인 방법
더 좋은 방법은 그냥 ScrollView를 버려버리는 거다.
VStack이던 뭐던 일단 기본 View들은 ScrollView를 사용하지 않으면 스크롤 기능이 되질 않는데, 그렇다면 억지로 쓰지 말고 그냥 되는 View 안에 넣어버리는 방법이다.
var body: some View {
    NavigationStack {
        List {
            Section {
                ScrollView {
                    LazyVGrid(columns: gridLayoutDual, content: {
                        ReminderStatsView(icon: "note", title: "Today", type: .today, count: reminderStatsValues.todayCount, iconColor: .blue)

                        ReminderStatsView(icon: "calendar", title: "Scheduled", type: .scheduled, count: reminderStatsValues.scheduledCount, iconColor: .red)

                        ReminderStatsView(icon: "tray.fill", title: "All", type: .all, count: reminderStatsValues.allCount, iconColor: .black)

                        ReminderStatsView(icon: "flag.fill", title: "Flagged", type: .flagged, count: 0, iconColor: .yellow)

                        ReminderStatsView(icon: "checkmark", title: "Completed", type: .completed, iconColor: Color(hex: "#636363"))
                    })
                }
                .listRowInsets(EdgeInsets())
            }
            .listRowBackground(Color.clear)

            Section {
                ForEach(myListResults) { myList in
                    NavigationLink {
                        MyListDetailView(myList: myList)
                            .navigationTitle(myList.name)
                    } label: {
                        Label {
                            Text(myList.name)
                                .font(.headline)
                                .fontWeight(.light)
                        } icon: {
                            Image(systemName: "line.3.horizontal.circle.fill")
                                .foregroundColor(Color(myList.color))
                                .font(.title2)
                        }
                    }
                }
            } header: {
                Text("My Lists")
                    .foregroundStyle(Color.primary)
                    .font(.title3)
                    .fontWeight(.bold)
                    .textCase(nil)
            }
            .listSectionSpacing(0)
        }
        // Process
        .onAppear {
            reminderStatsValues = reminderStatsBuilder.build(myListResults: myListResults)
        }
        // Toolbar
        .toolbarTitleDisplayMode(.inline)
        .toolbar {
            // Topbar
            ToolbarItem(placement: .topBarTrailing) {
                Button {

                } label: {
                    Image(systemName: "ellipsis.circle")
                }
                .foregroundStyle(.blue)
            }

            // Bottombar
            ToolbarItem(placement: .bottomBar) {
                Spacer()
            }

            ToolbarItem(placement: .bottomBar) {
                Button {
                    isPresented = true
                } label: {
                    Text("Add List")
                        .font(.headline)
                }
                .padding()
            }
        }
    }
    .sheet(isPresented: $isPresented, content: {
        NavigationStack {
            AddNewListView { name, color in
                do {
                    try ReminderService.saveMyList(name, color)
                } catch {
                    print(error.localizedDescription)
                }
            }
        }
    })
    // Overlay
    .overlay(alignment: .center, content: {
        if searching {
            ReminderListView(reminders: searchResults)
        }
    })
    .onChange(of: search, perform: { searchTerm in
        searching = !searchTerm.isEmpty ? true : false
        searchResults.nsPredicate = ReminderService.getRemindersBySearchTerm(search).predicate
    })
    // Searchbar
    .searchable(text: $search)
}
굳이 수고스럽게 ScrollView 안에 List를 넣을 생각을 하지 말고, List안에 GridView를 넣어버리는 거다.
이때 ListView의 기본 인터페이스 디자인을 따라가기 때문에 원하는 결과물을 내기가 쉽지 않은데, 유용한 modifier들이 좀 있다.
자세한 설명은 링크의 개발 문서가 도움이 더 많이 될 것이고, 있고 없고의 변화는 간단하게 사진을 첨부한다.
.listRowInsets(EdgeInsets())
listRowInsets(_:) | Apple Developer Documentation
Applies an inset to the rows in a list.
developer.apple.com


.listRowBackground(Color.clear)
listRowBackground(_:) | Apple Developer Documentation
Places a custom background view behind a list row item.
developer.apple.com

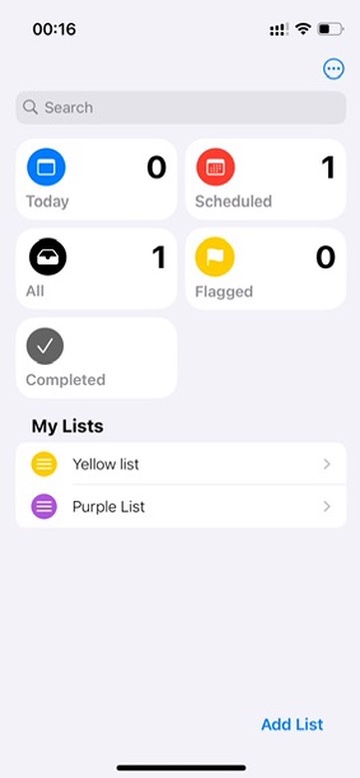
.listSectionSpacing(0)
listSectionSpacing(_:) | Apple Developer Documentation
Sets the spacing between adjacent sections in a List.
developer.apple.com
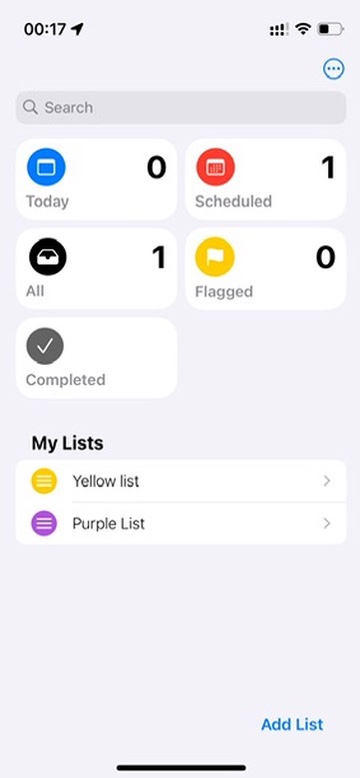
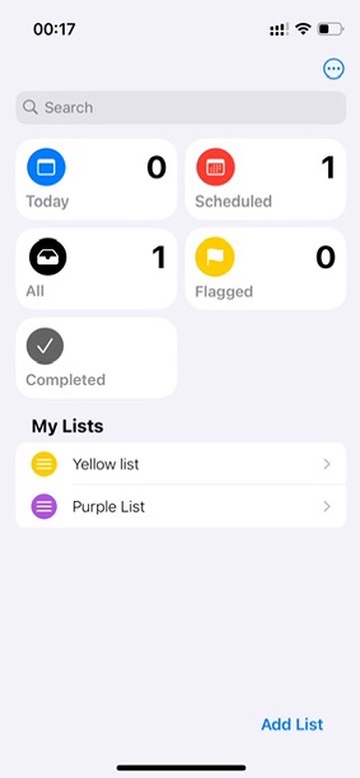
.textCase(nil)
textCase(_:) | Apple Developer Documentation
Sets a transform for the case of the text contained in this view when displayed.
developer.apple.com

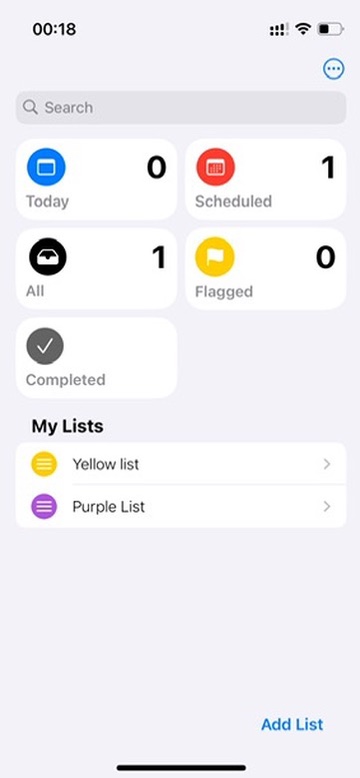
3. 구현 팁
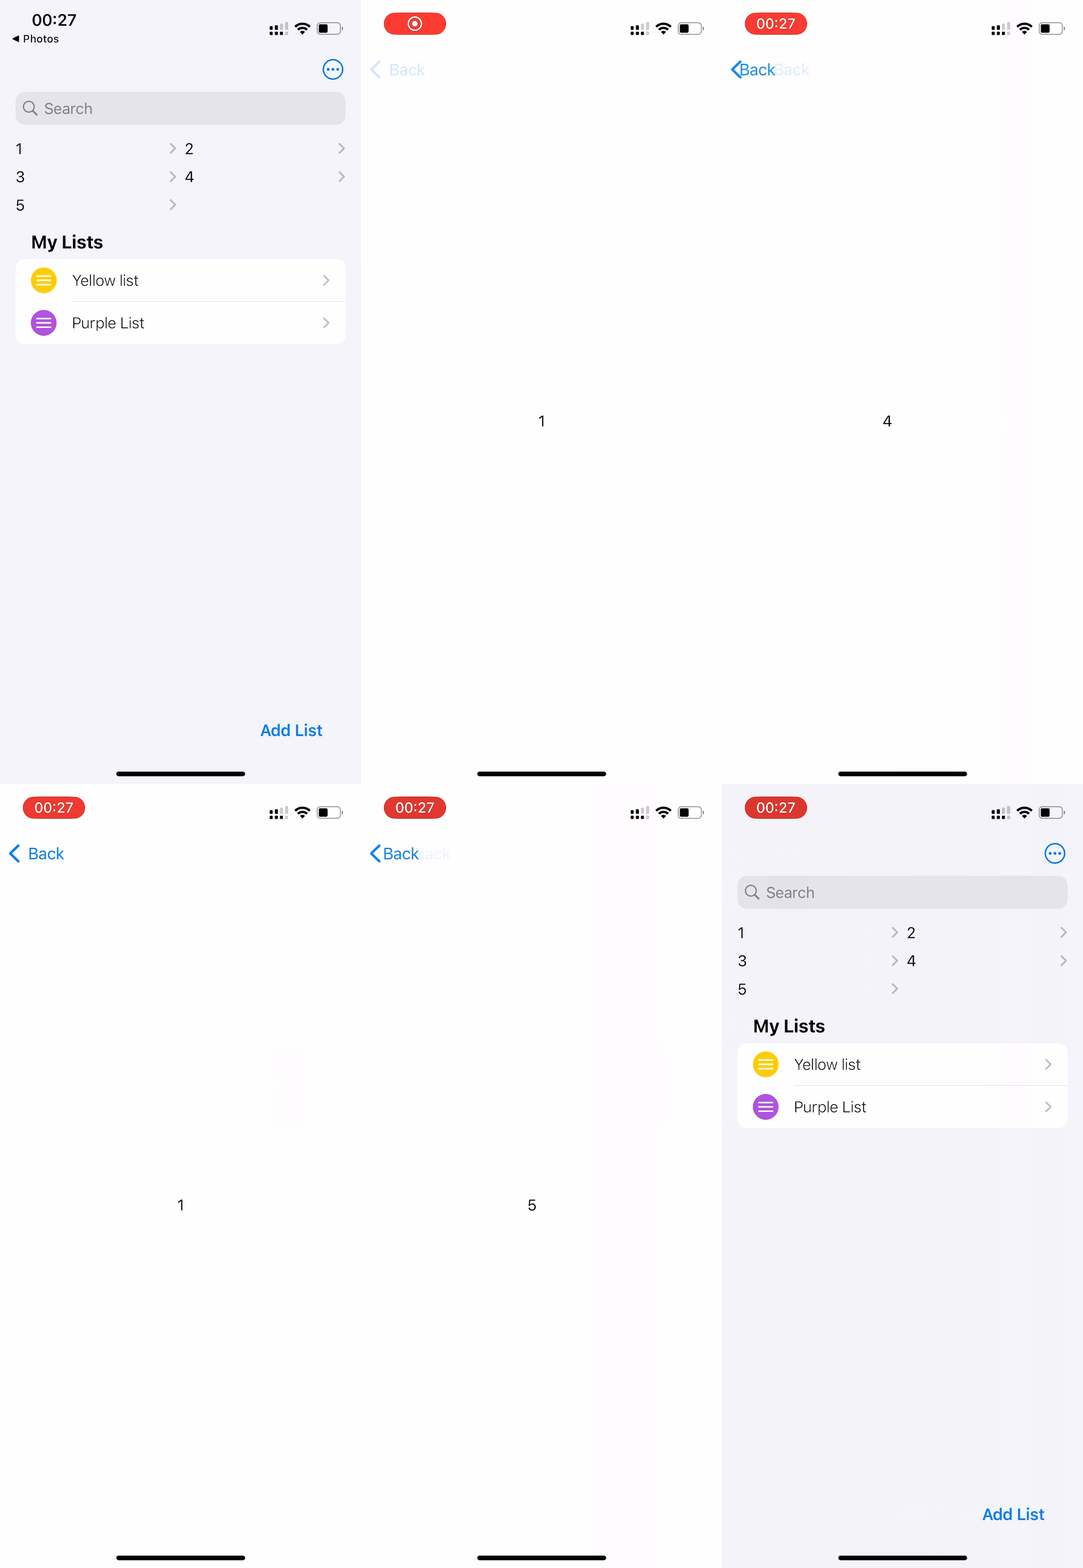
아마 좀 된 문제 같은데 Scroll이 가능한 View에 Grid같이 한 열에 2개 이상의 View를 표시하는 게 가능한 View를 표시할 때의 주의사항이 있다. 보통 Scroll이 가능한 View라고 하면 List, Form 같은 View들이 되는데 이것들은 Row(시각적인 Row가 아니다) 단위로 Link를 불러오는 메커니즘을 사용한다. 코드로 예를 들면
List {
    Section {
        LazyVGrid(columns: gridLayoutDual, content: {
            NavigationLink {
                Text("1")
            } label: {
                Text("1")
            }
            NavigationLink {
                Text("2")
            } label: {
                Text("2")
            }
            NavigationLink {
                Text("3")
            } label: {
                Text("3")
            }
            NavigationLink {
                Text("4")
            } label: {
                Text("4")
            }
            NavigationLink {
                Text("5")
            } label: {
                Text("5")
            }
        })
        .listRowInsets(EdgeInsets())
    }
    .listRowBackground(Color.clear)
}
위와 같은 코드가 있다고 가정했을 때 1번이든 2번이든 5번이든 어떤 것을 누르더라도 모든 NavigationLink를 실행하는 대참사가 발생한다. 이를 막기 위해 해당 NavigationLink는 해당 Grid에서 구현하지 말고 CustomView에서 구현하는 것을 추천한다.
List에 있어서 정말 편한 기능이지만 CustomView로 구현하면 골치 아픈 문제가 있는데 바로 Disclosure Indicator다.(아마 뭐라고 부르는지 모르는 사람도 많을걸...?)


없애는 방법이야 ZStack도 있고, EmptyView 있고 정말 많은데 레이아웃을 크게 헤쳐서 너무너무 귀찮다.
가장 간단한 방법은 GridView를 ScrollView에 박아버리는 것이다. 이것 만으로 오른쪽처럼 깔끔하게 만들 수 있다.
요즘 들어 느끼는 거지만 참 끝이 없다...
내가 아는 것은 항상 정답이 아니고 빠른 시일 내에 더 좋은 방법이 나온다.
그러니 지금에 만족하지 말고 항상 더 나아져야 한다는 강박을 가져야 된다.