기능구현 #3
이미지 저장
이미지 저장
| 저장 기능
이미지를 생성하다 마음에 들면 앨범에 저장해 공유할 수 있도록 기능을 구현한다.
.toolbar {
    ToolbarItem(placement: .navigationBarLeading) {
        NavigationLink {
            InfoView()
        } label: {
            Image(systemName: "info.circle")
        }
    }

    ToolbarItem(placement: .navigationBarTrailing) {
        Button {
            //share
        } label: {
            Image(systemName: "square.and.arrow.up")
        }
    }
}
앞서 생성한 ToolbarItem에 기능을 추가한다.
.toolbar {
    ToolbarItem(placement: .navigationBarLeading) {
        NavigationLink {
            InfoView()
        } label: {
            Image(systemName: "info.circle")
        }
    }

    ToolbarItem(placement: .navigationBarTrailing) {
        Button {
            if let image = image {

            }
        } label: {
            Image(systemName: "square.and.arrow.up")
        }
    }
}
만약 image가 존재한다면 저장을 시도하면 된다.
ToolbarItem(placement: .navigationBarTrailing) {
    Button {
        if let image = image {
            UIImageWriteToSavedPhotosAlbum(image, nil, nil, nil)
        }
    } label: {
        Image(systemName: "square.and.arrow.up")
    }
}
Apple Developer Documentation
developer.apple.com
저장에 사용하는 메서드는 UIImageWriteToSavedPhotosAlbum이다.
파라미터는 다음과 같다.
- image
저장할 이미지를 전달한다. - completionTarget
이미지를 저장한 이후 호출할 객체를 전달한다. - completionSelector
completionTarget이 호출할 메서드 셀럭터를 전달한다. - contextInfo
completion selector에 전달될 context 식별자를 전달한다.
파라미터 설명이 복잡하지만 실제 이미지 저장에 사용할 때는 맨 처음의 image만 전달해 주면 된다.
이미지 저장
| 사진 접근 권한 요청
단순히 UIImageWriteToSavedPhotosAlbum을 호출하면 접근 권한을 얻을 수 없어 충돌 후 종료된다.
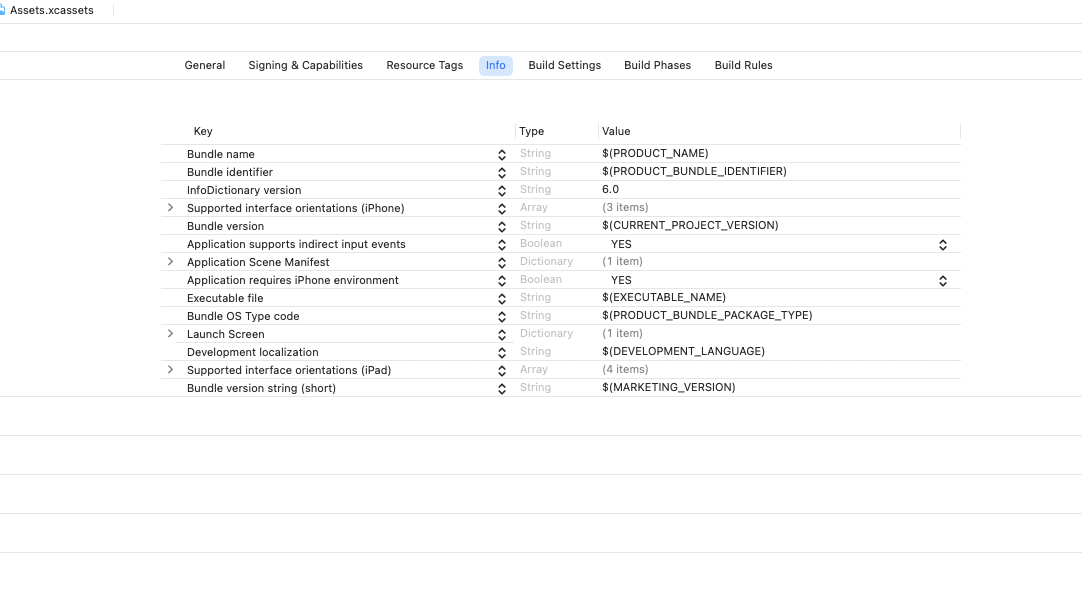
앱의 Info에 접근한다.

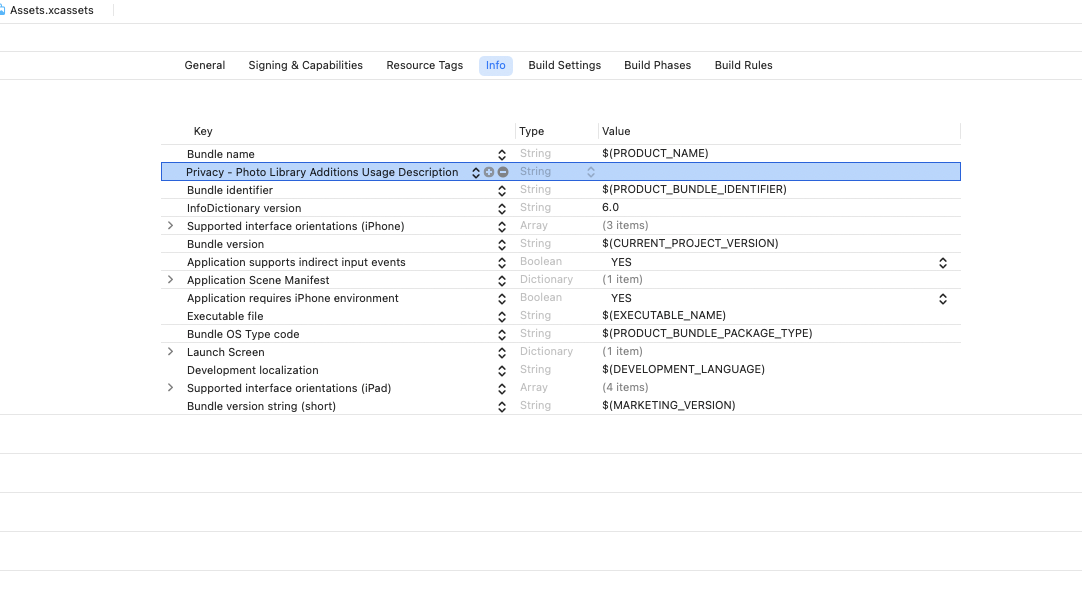
Key에 추가를 누르고, 'Privacy - Photo Library Additions Usage Description'를 추가한다.
Vlaue는 그냥 비워두면 된다.
이제 앱에서 사진을 저장하기 위해 최초로 앨범에 접근하는 시점에 권한 획득을 위한 팝업을 띄우게 된다.

접근 권한을 요청하고, 이미지는 앨범에 잘 저장된 것을 확인할 수 있다.
이미지 저장
| 팝업 구현
지금의 상태로도 저장 기능에는 문제가 없지만
제대로 동작했는지, 원치 않는 동작이었는지를 확인할 수 없다.
간단한 알림 창을 만들어 동작을 확인할 수 있도록 구현한다.
struct ContentView: View {
    @ObservedObject var viewModel = ViewModel()
    @State var processState = false
    @State var alertState = false
    @State var image: UIImage?
    @State var text = ""

    var body: some View {
        NavigationView {
            VStack {
                Spacer()
알림 창의 trigger 역할을 할 State 변수를 하나 선언한다.
여기선 alertState다.
NavigationView {
    .
    .
    .
}
.alert("Alert", isPresented: $alertState) {

}
Apple Developer Documentation
developer.apple.com
SwiftUI의 Alert는 modifier의 형태로 구현한다.
파라미터는 아래와 같다.
- titleKey
alert의 제목에 해당한다.
간단한 문자열을 전달한다. - isPresented
alert의 trigger에 해당한다.
Boolean 형식의 State 변수를 binding으로 전달한다. - actions
alert의 버튼 등의 구현을 전달한다.
NavigationView {
    .
    .
    .
}
.alert("Alert", isPresented: $alertState) {
    Button {
    	UIImageWriteToSavedPhotosAlbum(image!, nil, nil, nil)
    } label: {
        Text("Save")
    }

    Button(role: .cancel) {

    } label: {
        Text("Cancel")
    }
}
Alert는 Save와 Cancel 두 개의 버튼을 가진다.
Save 버튼은 기존에 Toolbar의 공유 버튼이 담당하던 저장 메서드를 호출하도록 구현했다.
.toolbar {
    ToolbarItem(placement: .navigationBarLeading) {
        NavigationLink {
            InfoView()
        } label: {
            Image(systemName: "info.circle")
        }
    }

    ToolbarItem(placement: .navigationBarTrailing) {
        Button {
            if let image = image {
                alertState.toggle()
            }
        } label: {
            Image(systemName: "square.and.arrow.up")
        }
    }
}
trigger 조작은 기존에 저장을 담당하던 Toolbar의 공유 버튼이 조작한다.

이미지가 존재하지 않으면 버튼을 눌러도 알림 창이 표시되지 않는다.
반대로 이미지가 존재하면 의도한 대로 알림 창을 표시하게 된다.
.alert("Alert", isPresented: $alertState) {
    Button {
        UIImageWriteToSavedPhotosAlbum(image!, nil, nil, nil)
    } label: {
        Text("Save")
    }

    Button(role: .cancel) {

    } label: {
        Text("Cancel")
    }
} message: {
    Text("Save this photo to your album.")
}
알림 창이 조금 심심하니 어떤 상황인지 사용자에게 알려줄 안내 문구를 추가했다.
alert의 뒤에 message로 추가했다.

썩 괜찮은 알림창이 만들어졌다.
'프로젝트 > Image Generator (w∕OpenAI)' 카테고리의 다른 글
| 05. 인터페이스 디자인 #2 (0) | 2022.12.28 |
|---|---|
| 03. 기능구현 #2 (0) | 2022.12.27 |
| 02. 기능 구현 #1 (0) | 2022.12.27 |
| 01. 인터페이스 디자인 #1 (0) | 2022.12.24 |
| 00. 시작하며 (0) | 2022.12.23 |


